We’ve all had that flimsy bit of old furniture… the one with the 1/8th inch sheet of plywood in the back that seems like it’s only there for looks, but when it cracks we find out it’s the thing that’s really holding the whole nightstand or dresser together.
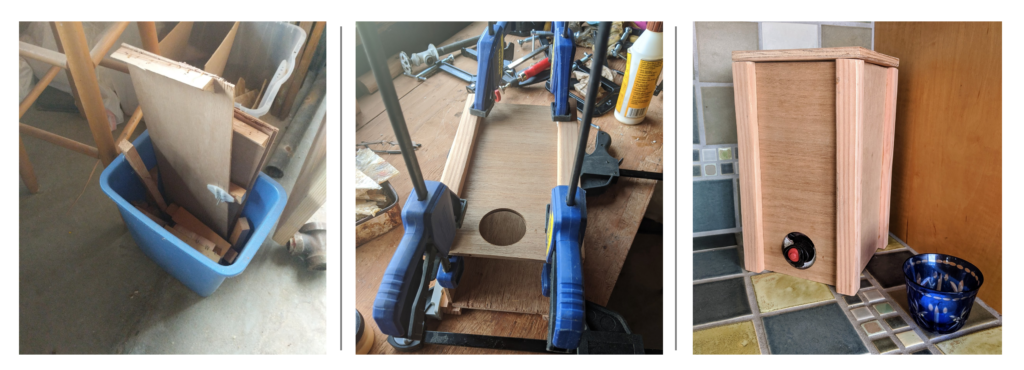
A friend asked me if I wanted some old wood she was getting rid of, and I of course said yes. What I didn’t expect was this nasty old, thin, brittle plywood. She had dismantled some sort of “under bed” set of drawers and this wood was inside.
It must have been an older piece of cheap furniture — cheap furniture today is almost always particle board or, at best, strand board. This wood turned out to actually be very nice, finish grade plywood. The only problem was that it was in really small pieces with braces attached with a million staples and the edges were a little banged up from when she took the furniture apart.
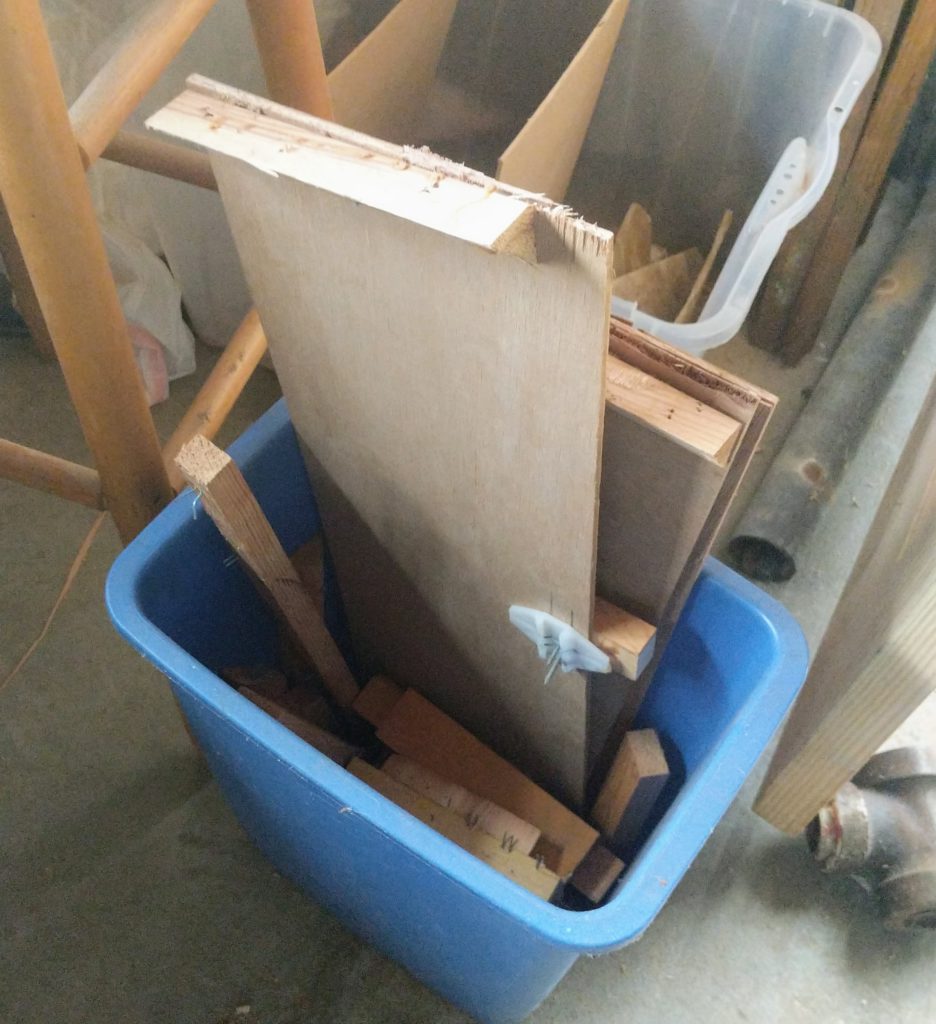
I had already designed a wine box cover using leftover cedar shingles, so when I saw this plywood I knew exactly what I was going to build. It’s funny how many saws I end up using to shape something like this… I used the table saw to rip them into lengths, then the miter saw to get them the right length, and then the hole saw to cut the hole for the wine spout to sick out.
The rails that hold the box together was a leftover edge from where I had trimmed a 2×4 down to fit into another project. I just ran that on the table saw making a 1/2″ cutout on one corner so the panels of the winebox cover had something to connect to. A bit of wood glue, a bit of clamping, a bit of waiting, and then.. the box comes together.
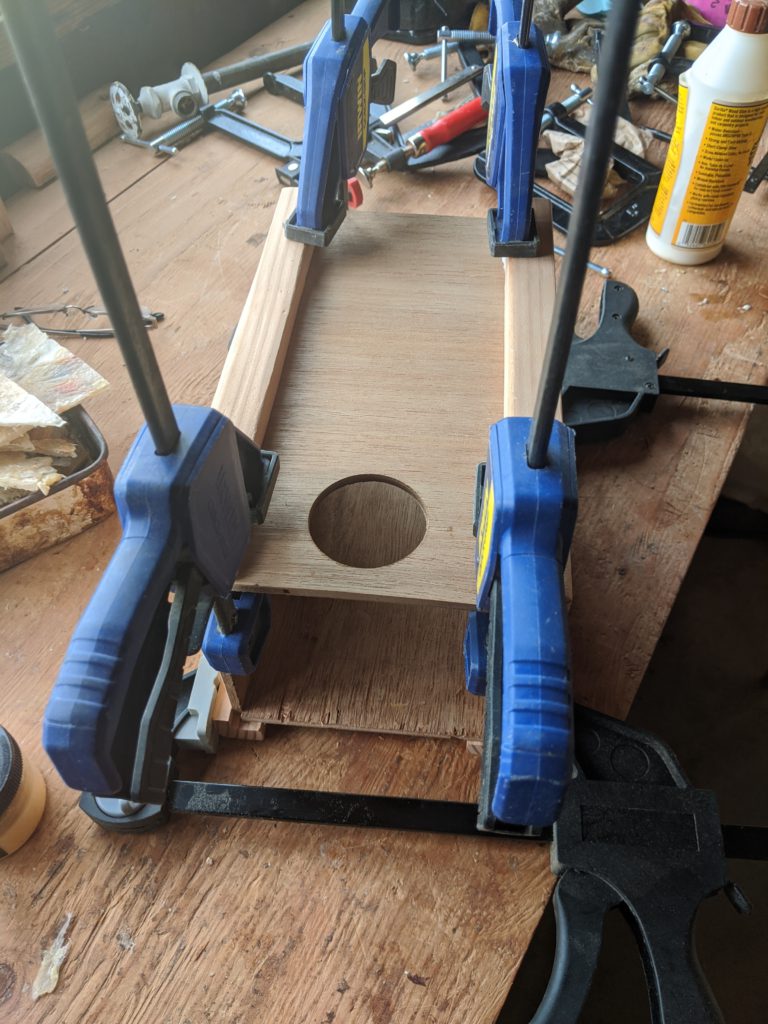
The lid surprised me. I took a scrap of exterior grade, 3/4″ plywood and sanded the hell out of it with my hand sander. It cleaned up so well it’s hard to believe it was as rough as it ever was.
To fit the lid into the box I took a bit of the leftover finish-grade plywood and cut it down to the dimensions of the interior of the box. It’s kind of like fashioning a wine cork for the boxed wine.
The thing that probably takes the most time when making these wine boxes is just the gluing and clamping — it’s nice to have that panel in place with no nail holes and a clean finish, so it’s worth it.
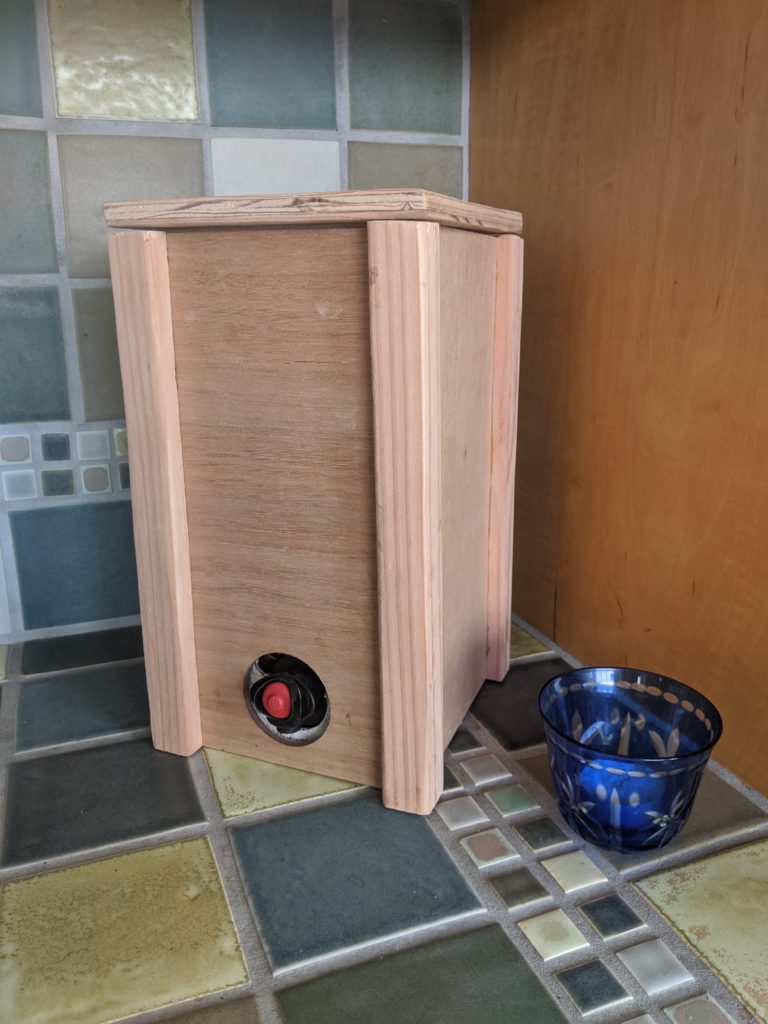
I could stain or even paint the finished box, but I kind of like the wood in its natural look. of course, over time, it will probably get a bit of cabernet or zinfandel drops on it, which it will soak up and show in a new, found art sort of way.
I currently have the cedar plank version of this listed in the online store, but if you’d like one like this, feel free to order the other box and add a note, or just contact me directly